Tanaza WiFi Ping Tool – Execute routine ping tests and troubleshoot networks in few seconds
Press play to listen to the article.
Conducting ping tests routinely with a performing WiFi ping tool has multiple benefits. Pinging devices allows WiFi network managers to know more about the overall health of their networks. It’s essential to know the availability status of all the access points and routers —also, the latency rate of requests, Jitter, and packet losses.
Consequently, it is vital to know and understand the history of WiFi ping tests and how ping tests work. Tanaza is launching an improved WiFi ping tool, to help MSPs execute routine ping tests and stay up to date on the networks’ performance.
What is a WiFi Ping Tool?
A ping tool is a software utility to test the reachability between the requesting host and a destination host. It is the most common network tool used to provide a basic connectivity test.
The ping measures the time that takes for packets to arrive at the destination host from the requesting host and back. This tool is useful for troubleshooting WiFi networks and test responses. Also, it provides users with the exact location where a specific problem may exist in the network.
For example, if the connection to the Internet goes down in a specific location, the ping utility can be useful. It helps to better understand where the problem exists if it is within a particular AP or the WiFi network.
How does the WiFi ping tool work?
Users can select a specific access point and use it to PING another device. To ping the device, users can use an IP address or a domain name.
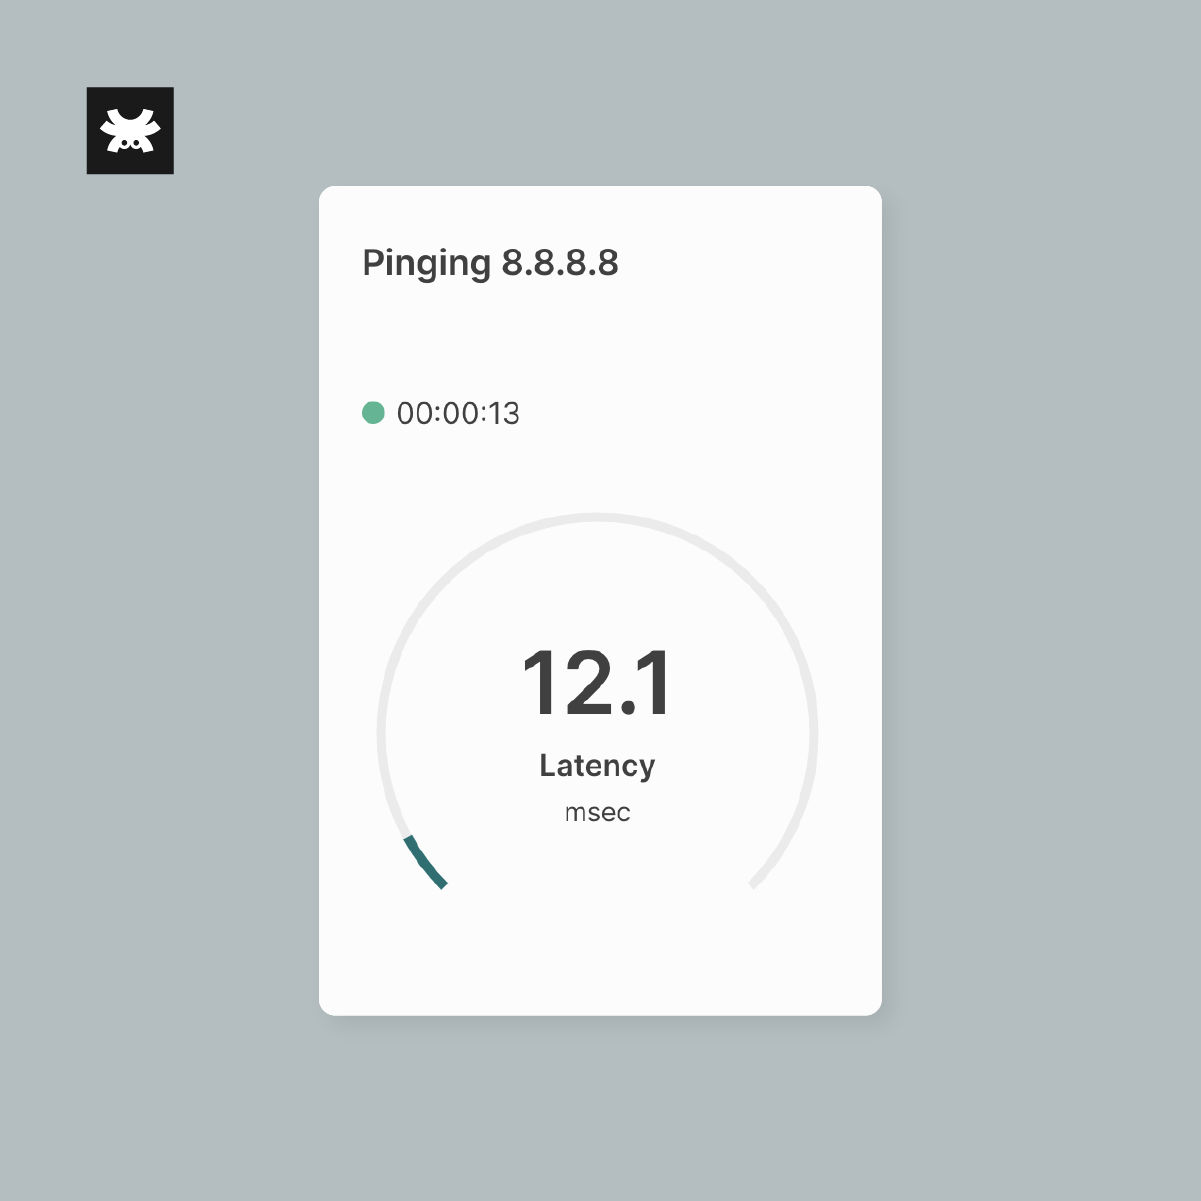
Once the user inputs the information and clicks PING, the system starts immediately pinging the intended device. After the attempts are over, the tool displays reached information values for average latency, loss rate, and jitter. Also, it shows a full history of the console. Users can also restart the ping if needed.
Also, users can set advanced settings like interleave, packet size, attempt counts, and timeout, in the advanced mode tab. Moreover, users can carry out multiple pings in parallel, with a maximum of 10 ping instances happening at once.
How do users visualize the WiFi ping results in the Tanaza platform?
The Tanaza platform displays the ping results through dynamic diagrams. These graphics allow users to get a quick overview of the network situation in a fast and organized way.
Also, if users switch to the console view, they visualize the history of the attempts updated in real-time. The ping tool measures and records the packet round trip time, which gives an idea of latency between the two devices. Also, it measures if there are any losses along the way while performing the ping test.
In the new Tanaza platform, ping tests can be carried out between local and remote devices, such as over the Internet or a VPN. As long as the devices are online and updated with the latest TanazaOS firmware (current version 3.3.2), tests can be carried out without any inconvenience. Ping tests cannot be carried out on disabled access points.
How to read data from the ping tool
1. What is Latency Rate?
In terms of networking, latency is the time that takes for a data packet to travel from the requesting source to the access point and then for the latter, to process it and send back an answer. For performance purposes, MSPs should always look for the timing to remain as close to zero as possible. In short, low latency implies there are no delays, and instead, high latency means there are many delays.
What would be an acceptable Latency in WiFi networks?
The average latency of a WiFi network will depend on two factors: wired or wireless connection, and quality signal. The information below is valid when pinging devices on the local network.
Typically, a wired connection has a latency of 1 millisecond or less. Whereas a wireless connection should generally be in the range of 1 to 3 milliseconds. The reason a wireless connection experiences more latency is due to the operation of encryption and decryption that it needs to go through, which in general lines takes more time compared to a wired connection. The wired connection only needs hardware operation and transmission, and as a result, the latency is much less.
Last but not least, the network signal is another key point to factor in. The higher the network signal is, the lower the ping would be. So, network managers know that the speed related to their networks depends mainly on signal quality.
When the average latency figures in networks (wired or wireless) go above the aforementioned threshold, that’s when network managers should start to worry. If latency figures, go as high as 4-6 milliseconds, it means the network is heavily congested. Also, it could mean that networks might be experiencing lots of collisions. Any figures beyond 4-6 milliseconds, it means poor WiFi connection or also interference caused by other devices nearby.
2. What is Jitter?
In networking, jitter -measured in milliseconds, is the variation in latency and response time of packets carrying data, like voice or video, over a communication channel. A healthy connection would consistently report back the same latency at all times. In contrast, slow or congested networks will show high levels of jitter.
In a network, the sender forwards packets spaced evenly apart in a continuous stream. However, if the WiFi network is congested packets start queuing. Also, if there are errors in the network configuration, it can result in significant variations in packet delay. This means that packets will not be received in the same order or possibly drop entirely on the way.
When MSPs are in the presence of high-level jitter variations, it can only indicate problems within the network. For example, web browsing is highly resistant to jitter, however, streaming data, voice, or music is much more susceptible.
What would be an acceptable Jitter in WiFi networks?
If a user has a VoIP call and the jitter surpasses 40ms, it will cause severe deterioration in the VoIP call quality. The tolerance of jitter will depend on the application. But, as a rule of thumb, jitter tolerance should be below 30ms to guarantee excellent user experience.
3. What is Packet Loss?
When it comes to monitoring network performance, it is crucial to know and understand how to stop packet loss. Let’s get started by unfolding first the terminology.
A packet is a small unit of data carried over a digital network. Data packets follow a defined path to keep the efficiency in networks. However, before a data packet is sent to the receiver, it is evenly distributed into blocks of information. Once the data packets arrive at the destination, they reassemble again.
Why does packet loss happen?
When packets travel within the network, sometimes they can’t make it through and won’t arrive at their destination. Data packets get lost or dropped in transit during their journey.
Thus, when packets are not successfully delivered, it slows down the speed of network traffic, as it causes a blockage. This creates a sort of congestion in the network throughput and takes upon bandwidth.
The risk of not acting soon to reduce the percentage of lost rate can be costly for MSPs. Investing in additional IT structure and adding more bandwidth to fix the latency caused by packet loss, would be needed.
What are the causes of packet loss?
The exact cause for data packet loss can be due to a variety of reasons. For example, the most common cause is network congestion. When the network traffic hits its maximum capacity, packets start queuing to be delivered. As a result, data packets get a hard hit when a network is catching up with traffic. However, most applications will resend the data packets or slow down the transfer speed to allow them to make it through.
Other reasons for packet loss could be overloaded devices or issues with the network hardware. Also, inadequate structure for handling packet loss, and even security threats in the network. However, there are ways to prevent packet loss, although it’s worth highlighting that it’s impossible to achieve zero packet loss. There will always be issues in the network, multiple client devices connected at the same time or overloaded devices. This would make it extremely difficult to achieve a zero % loss rate.
What can MSPs do to troubleshoot networks?
Troubleshooting networks with high levels of Latency and Jitter
The leading cause of high variations in Jitter and Latency on WiFi networks is a mix of bandwidth, potential interference, and the number of client devices connected to the network at the same time. To improve latency, MSPs need to work around these aspects. On the other side, variations in the amount of bandwidth used cause Jitter.
Hence, a slow connection speed would cause high latency. The more interference, the lower the bandwidth available to use. Finally, the more client devices connected to the network, the higher the variation in Jitter. Also, connected devices that aren’t transmitting data cause more interference, thus increasing levels of Jitter.
Apply these hacks to reduce latency and jitter levels
1. Hardware, hardware, hardware! Make sure your equipment is up to date with the current WiFi standards. Legacy access points don’t make proper use of the spectrum and can be more sensitive to noise, causing problems to signal, therefore affecting throughput.
2. One of the key recommendations is to reduce heavy users and get them to connect to the Ethernet, to take the load off from the WiFi network. However, in outdoor – medium and large scale deployments, this is not scalable, to not say nearly impossible. With the Tanaza platform, MSPs can limit the amount of bandwidth at the SSID and client level.
3. Assess the channel bonding of your wireless networks. For instance, newer devices allow users to have 40Mbps channels on the 2.4GHz and up to 160Mbps on the 5GHz. To lower the latency is essential to have more bandwidth.
4. Deploying more WiFi access points will help to increase the signal and provide more bandwidth, in consequence, reducing levels of latency and Jitter.
5. Set up multiple access points using different frequencies rather than using repeaters, which unfortunately help wasting bandwidth.
Troubleshooting WiFi networks with high packet loss rate
Our first recommendation before trying anything else. First, make sure all the access points and routers within the network are updated with the latest Tanaza firmware. Our R&D team always fixes bugs and issues with each firmware release.
Try these simple tricks to fix packet loss:
- Check all connections are properly configured and plugged-in correctly.
- Restart the whole system. It might give a clean jumpstart to the network pushing it to fix internal glitches or bugs.
- Remove any application or devices capable of causing static, like Bluetooth, wireless devices, and cameras.
- Use an Ethernet cable connection instead of WiFi. Packets tend to get lost easily over WiFi. Consider even a fiber optic cable to connect to the Internet.
- Consider, also replacing legacy hardware and look out for the network infrastructure, too.
- Deploy more access points. This will increase the signal and provide more bandwidth, thus reducing jitter and latency.
A final thought on this section: it is critical for optimal network performance to detect, troubleshoot, and prevent packet losses. However, it’s fundamental to keep in mind that packet loss happens, and no software in the market can stop this. Monitoring constantly the network and having visibility of it, is a way to prevent and lessen the impact on packet loss.
The golden rule for us at Tanaza is: “an issue you can see, an issue you can solve.” With the Tanaza platform, MSPs can have a complete overview of all their networks and organizations from a single dashboard. With the ping tool, MSPs can detect problems within the system and isolate them to find a solution. Feel free to reach out to our customer service team if you have any questions about how to solve the issues detected by the ping tool.
Read more…
If you would like to know how to run a Ping test in the Tanaza platform, read this step-by-step WiFi Ping tool guide, which will walk you through the entire process.
Are you ready to try Tanaza?
Jump in and experience our interactive demo with all the features Tanaza can offer to manage WiFi networks like a pro.


Related articles:
https://www.tanaza.com/blog/cost-of-wireless-networks/