New Tanaza Compatible Device: MikroTik wAP AC

New Tanaza Compatible Device: MikroTik wAP AC
We have a new compatible device that works with Tanaza, the MikroTik wAP AC. The AP is a weatherproof wireless access point for mounting on a ceiling, wall, or pole. This AP is ideal for outdoor environments like houses, porches, garden areas, and any outdoor non-high-density area.
MikroTik wAP AC
Product specifications
The MikroTik wAP AC is an 802.11ac wireless AP, which supports both the 2.4GHz and 5GHz frequencies simultaneously. Its sleek and small design makes it unobtrusive. It has one Gigabit Ethernet port with a RAM size of 64MB and a storage size of 16 MB.
The combined throughput can be up to 1.6 Gbps. The 2.4GHz radio supports the 802.11n standard with up to 300Mbps throughput. Instead, the 5GHz radio supports 802.11ac standard with up to 1300 Mbps throughput.
The wAP ac is weatherproof and can be fixed to any external wall from the case’s inside. In this way, it’s securely attached to its mounting location. The AP’s bottom door can also be secured with a special screw, which can only be opened by the device’s owner.
It’s also possible to run the Ethernet cable directly behind the device and bring it inside the wall. There is a special opening on the back of the case. In this way, the device doesn’t draw too much attention and blends into any environment.
MikroTik wAP AC is cloud-manageable with Tanaza
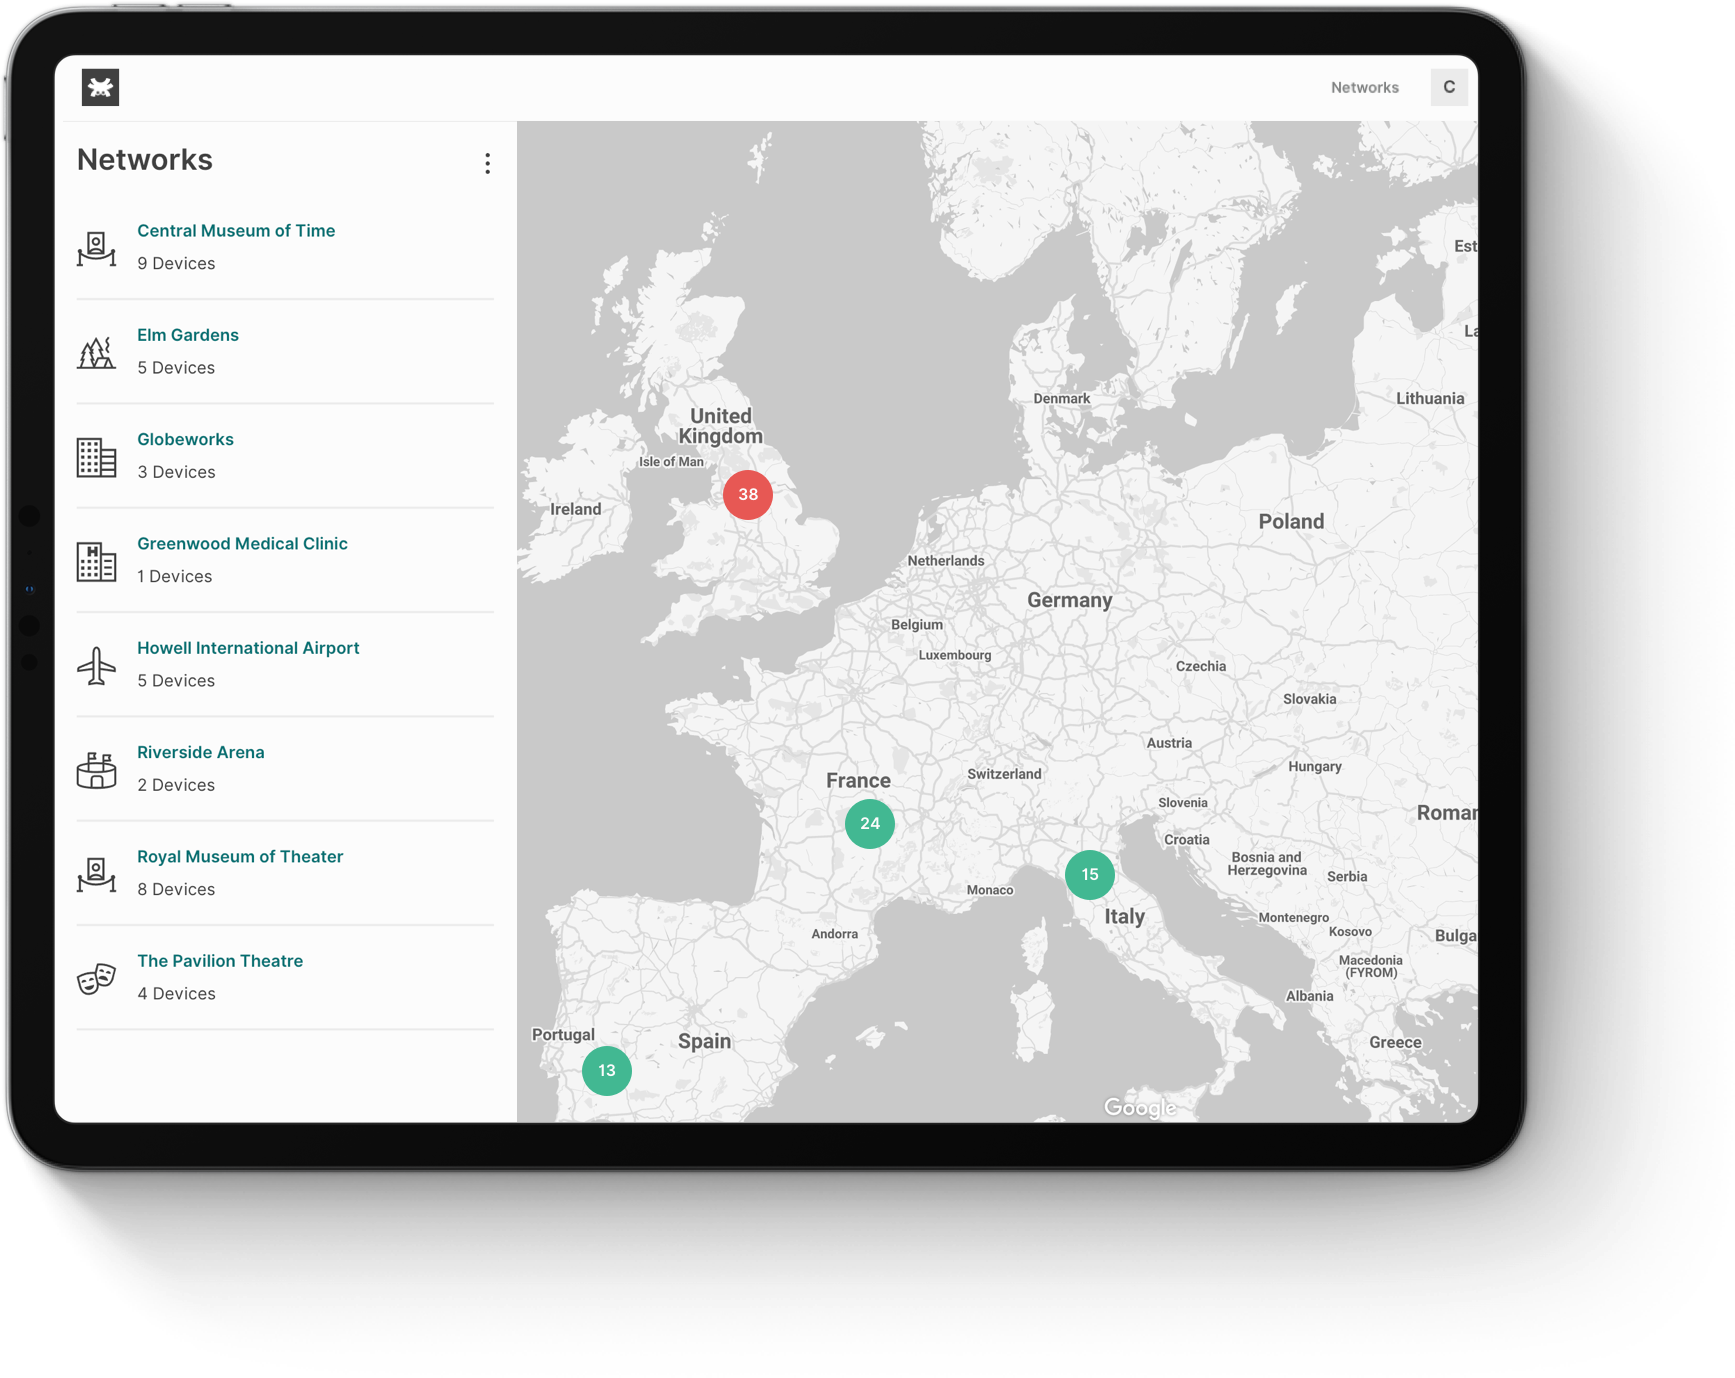
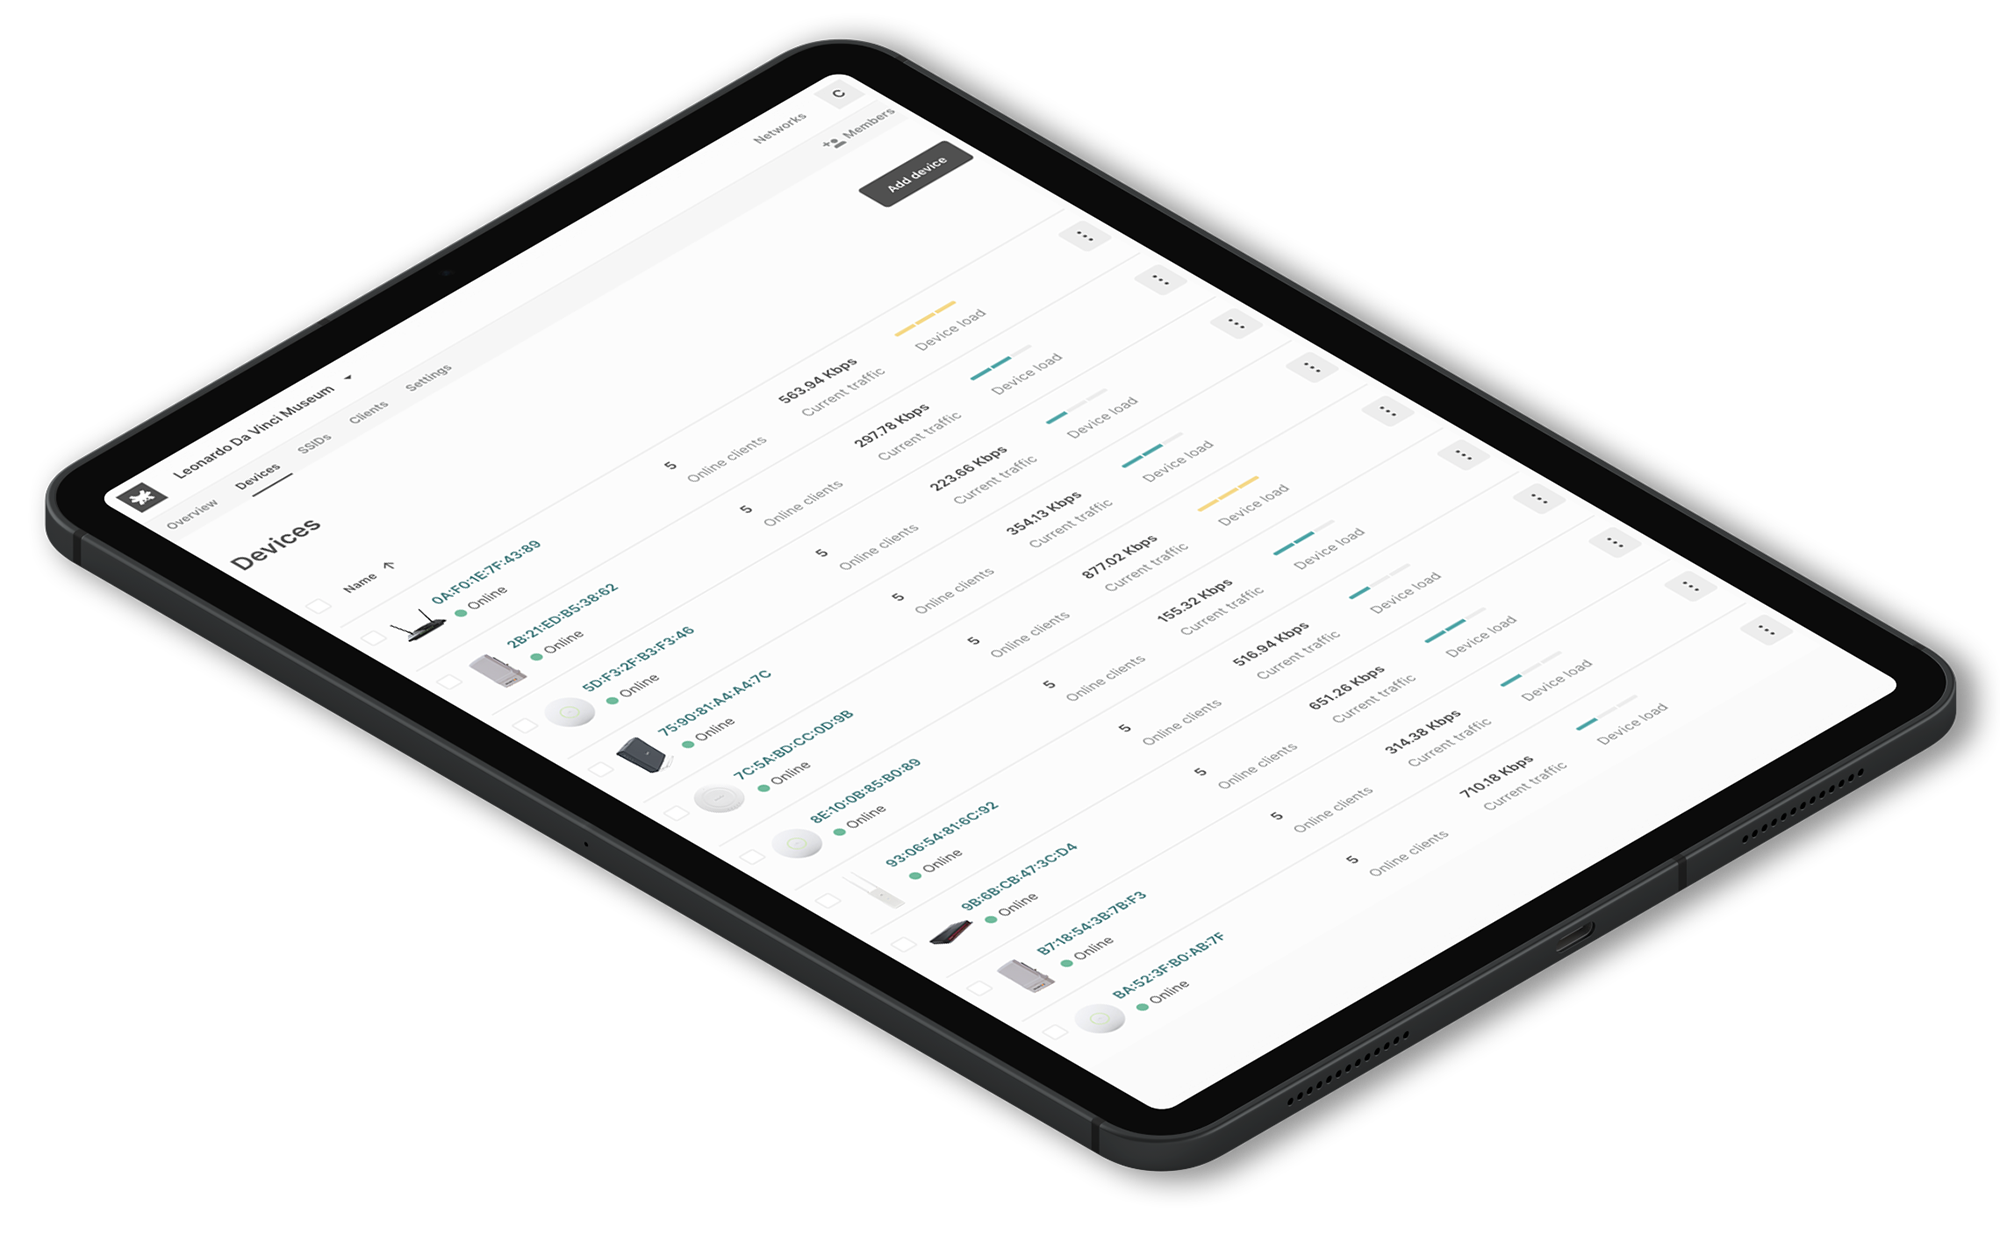
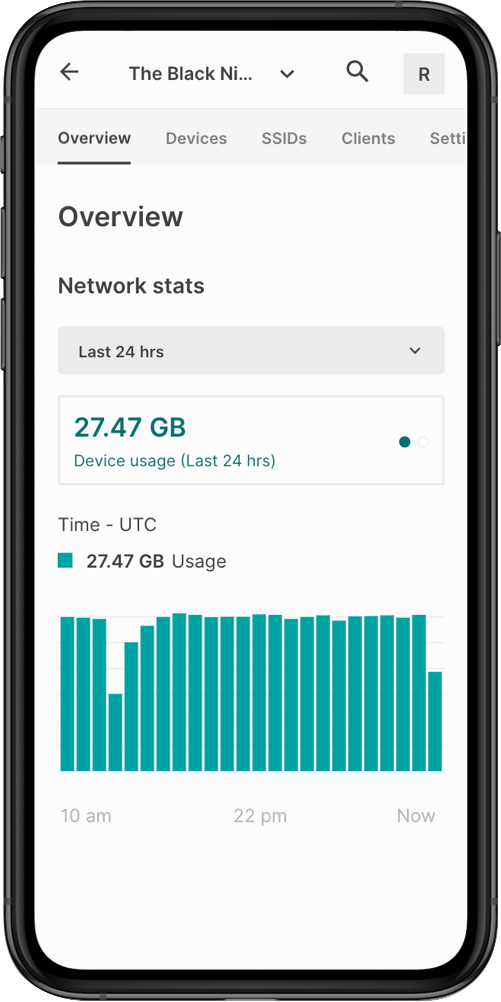
Tanaza has developed a flexible and comprehensive cloud platform for IT professionals to operate WiFi networks. Tanaza creates value for MSPs, System Integrators, Network Administrators, and ISPs by allowing unprecedented efficiency in network management and freeing them from locked-in vertical solutions that impose a software/hardware bundle.
At the core of Tanaza’s technology is TanazaOS, a powerful Linux-based Operating System compatible with multiple hardware devices.TanazaOS is extremely fast in sending configurations to the access points, with the most complex network-wide settings being applied to all APs within a network in less than 5 seconds. It is also secure, as it is built on the most recent kernel and bootloader.
The Tanaza WiFi cloud management platform features:
- Centralized configuration
- Remote monitoring
- Zero-touch provisioning
- Built-in Splash Page
- Multi-tenancy
- Compatible Operating System
- Auto rollback, when a wrong configuration is applied, the system restores the previous working one
- Schedule APs reboot
- Automatic channel distribution
- Integration with third-party applications (like Classic Hotspot) and much more. Discover Tanaza’s features.
Users can install the TanazaOS firmware on the MikroTik wAP AC device and cloud-managed their WiFi networks from a centralized dashboard. The advantage of Tanaza is that users can deploy networks seamlessly with zero-touch provisioning on the Tanaza WiFi cloud management platform. Thanks to our vendor-agnostic capability, users can cherry-pick and mix access points compatible with Tanaza within the networks.
Find the right license that fits your needs
With Tanaza, you can manage any number of access points, create thousands of networks and organizations, and have multi-user access without additional costs.
All Tanaza licenses are offered on a subscription plan with multiple term lengths (1-year, 3-year, and 5-year subscriptions). Subscriptions can only be purchased online, and it renews automatically. Save 33% on a 3-year subscription or save 40% on a 5-year subscription.
Discover the full feature set of Tanaza WiFi cloud management software.
Still not using Tanaza?
Discover the Tanaza platform’s features with our interactive demo. Experience the Tanaza platform and learn more about all the features that will allow you to manage WiFi networks like a champ.
Try the Tanaza interactive demo
Simulate Tanaza from your browser.
Experience the power of WiFi cloud management in seconds.