How to monitor bandwidth in WiFi Networks

How to monitor bandwidth in WiFi Networks
Press play to listen to the article.
When building a WLAN infrastructure, you need to make a precise analysis of the bandwidth requirements to balance performance and cost correctly. Bandwidth plays a fundamental role in the design and maintenance of a functional network.
In this article, we will present why it is important to consider and appropriately monitor the bandwidth requirements of the WiFi network you are going to deploy, to perform the most reliable network experience.
What is the bandwidth? And, the network bandwidth?
Bandwidth is the capacity of a channel to transmit data. During the transmission, the information is sent in a binary system, a language that encodes data using only two symbols (often defined as “1” and “0”, or “on” and “off”), each of which is called a bit.
The basic unit of this language, the byte, is composed of 8 bits. The bandwidth determines, therefore, the number of bytes that can be transmitted on the connection. The unit of measurement is the bits per second (bps). For example, a low definition video lasting 15 seconds, weighing 1 Megabyte, can be downloaded from an Internet site on your computer in 3-5 minutes if the connection is made via modem (56 kbps) or ISDN line (from 64 to 128 kbps). The same action takes a few seconds instead if the connection is broadband, like the one with the optical fibers (over 1000 Gbps).
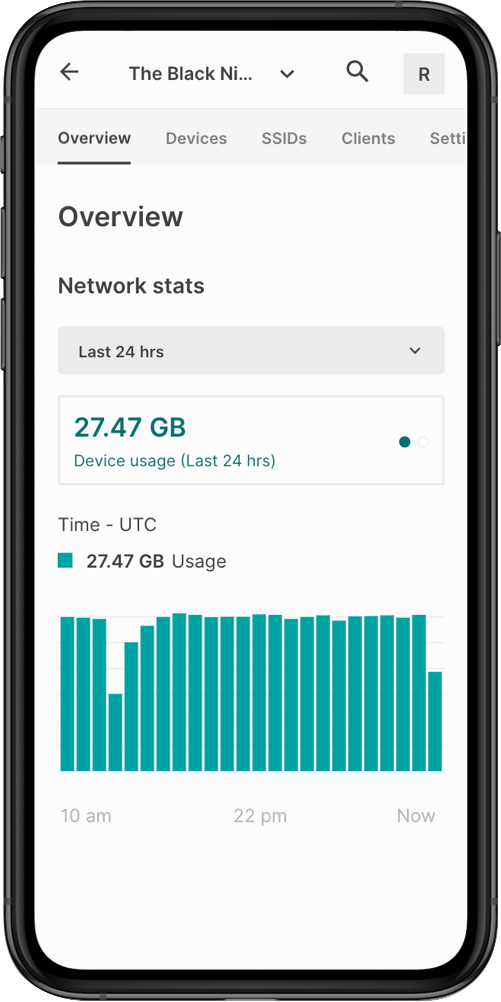
Network bandwidth is the capacity of a network communications link to transmit the maximum volume of data from one point to another over a computer network or Internet connection in a given amount of time, usually one second. Bandwidth has the same meaning of capacity, and defines the data transfer rate.
Bandwidth, though, is not a measure of network speed.
As a matter of fact, the words “bandwidth” and “speed” are often misused as synonymous. The explanation of this misunderstanding can be, in part, due to their use in advertisements by ISPs that refer to speeds when they mean bandwidth. Indeed, speed refers to the rate at which data can be sent, while the definition of bandwidth is the capacity for that speed.
Why is it so important to check network bandwidth requirements before deploying a network?
Bandwidth can be compared to the volume of water that can flow through a water pipe. If the pipe is bigger, the water can flow in a massive quantity through it at one time. Bandwidth functions in the same way. So, the more bandwidth a data connection has, the more data it can send and receive at one time.
Consider that in any kind of deployment location, there are bandwidth limits. This means that there is a constraint to space for the data to flow. Therefore, multiple devices in a single area must share the bandwidth. Some devices request much more bandwidth than others. Greater bandwidth is absolutely necessary if proper speed must be maintained on different devices.
When do you need to calculate bandwidth?
Streaming, gaming, and other high usage activities demand a certain amount of bandwidth speed to get the best experience without buffering or lag. And the more bandwidth your network can deliver, the faster your devices will run.
Before you start designing your WiFi network, you should follow some steps to achieve your bandwidth goal.
1. Estimate how many devices will be connected to your WiFi network simultaneously
The majority of mid-high end wireless access points and wireless routers can have 255 devices connected at a time. Nevertheless, just because you can hypothetically connect 255 devices to a single WiFi router/access point doesn’t mean you should.
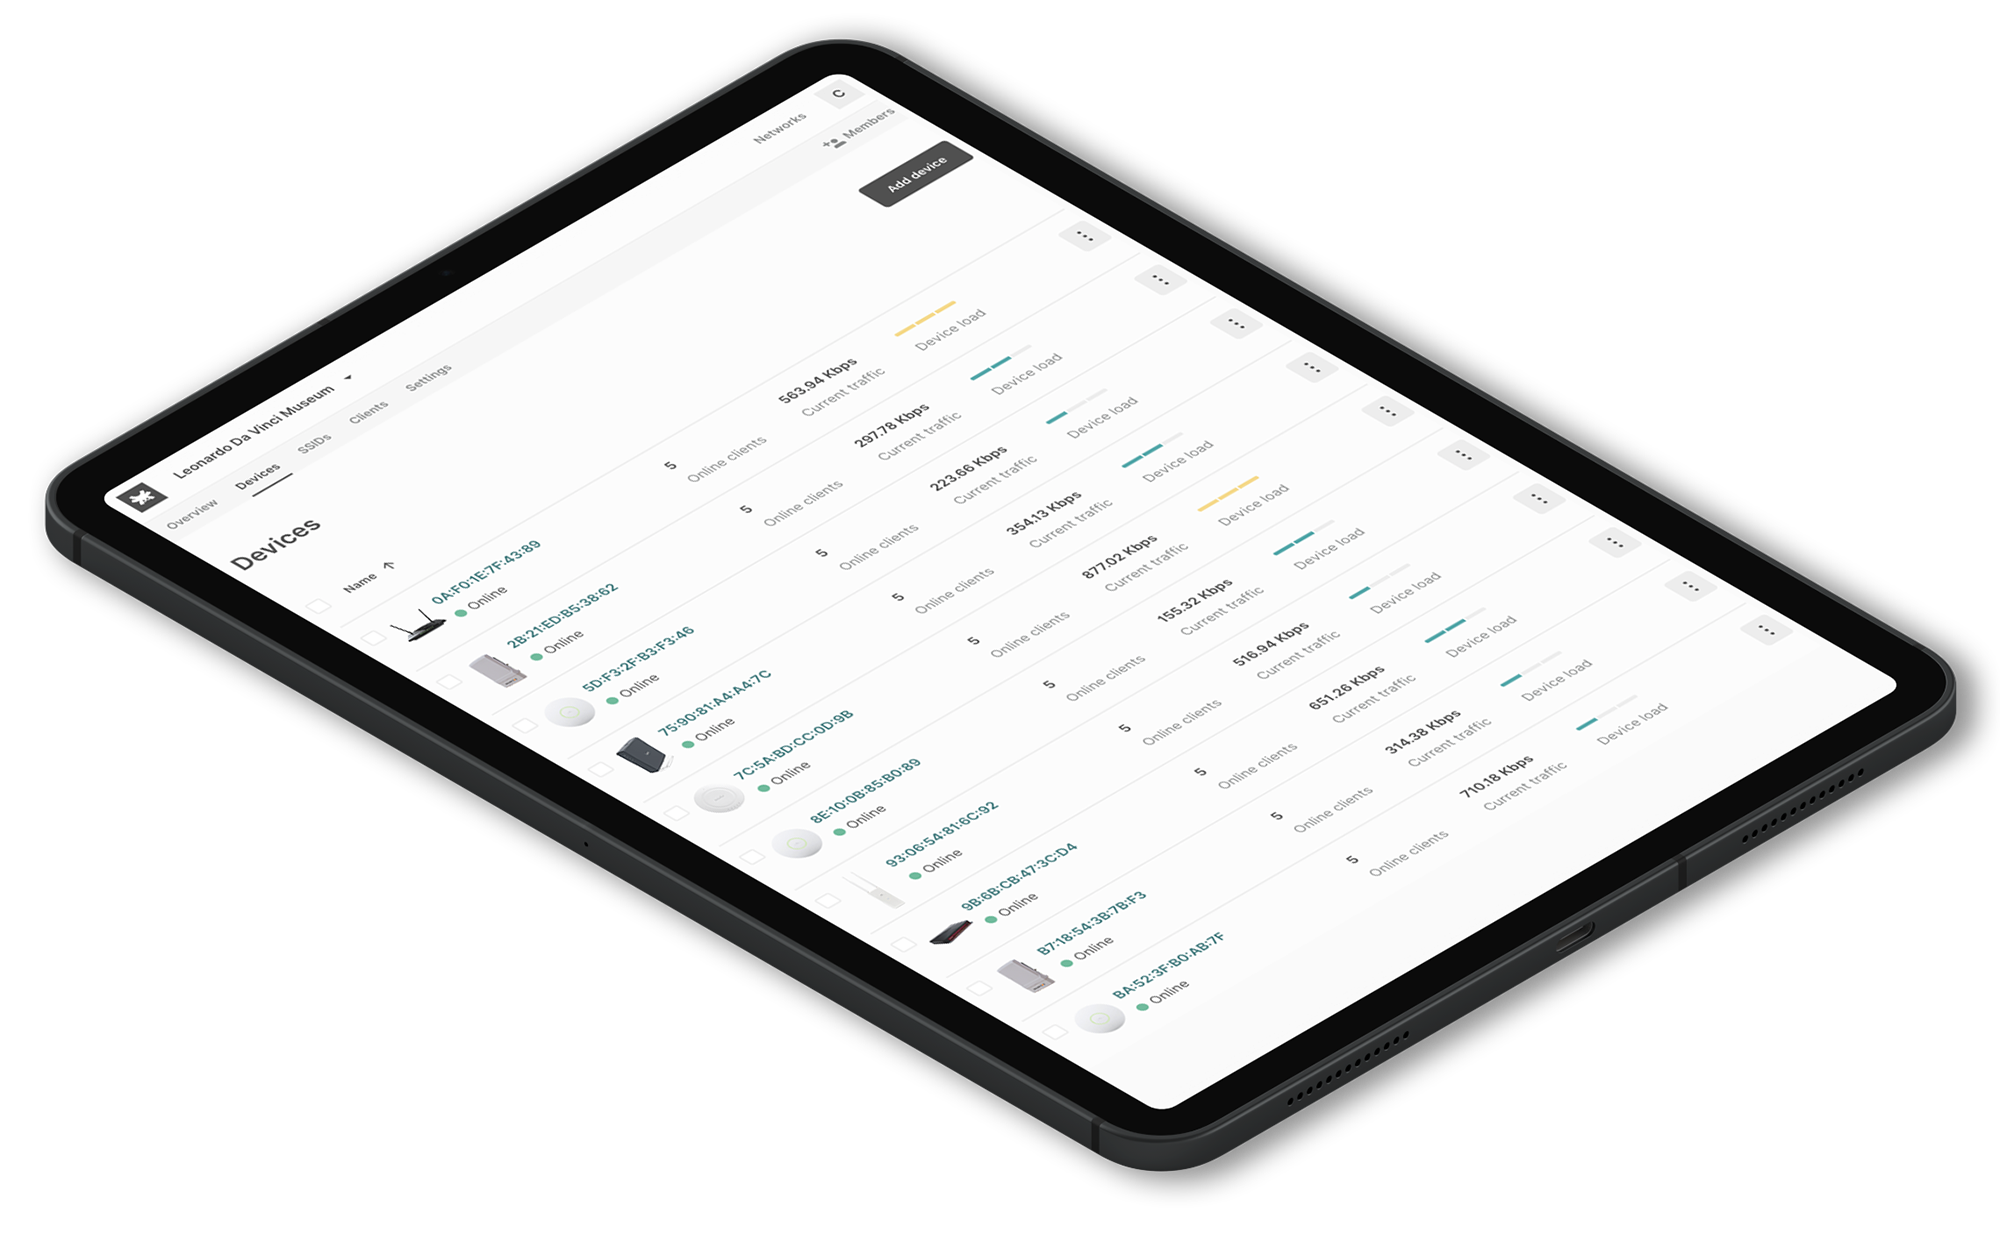
Each computer or device added to your network will degrade the bandwidth available to the other devices using the same connection. All those devices share the same wireless network and the same Internet connection from your broadband service provider. In this case, the congestion isn’t necessarily with the wireless connections. Still, it is with the amount of traffic or bandwidth that can pass through the Internet router to your broadband service provider.
Example
If you want to estimate how many concurrent devices will be connected, consider, for example, a hotel with 18 rooms for 2 people each. The hotel has 36 guests if it is fully-booked. If each guest has 1.2 devices, you have around 43 devices in total. We can assume that only 20 of 43 can be connected or generate significant traffic at the same time.
2. Calculate the application bandwidth requirement
Your bandwidth requirements also depend on the usage of the Internet your guests perform while being connected to your WiFi network. Some Internet applications, such as web browsing and instant messaging require low bandwidth, whereas other applications, such as video streaming and VoIP calls, require high-level bandwidth usage.
To implement a high-performance WLAN, network designers must consider external variables, such as the applications’ requirements in bandwidth and throughput networks.
Tanaza offers a useful way to calculate the bandwidth requirement of a network. We have created the tool “Access Point Selector” to suggest the ideal access point per location and application type. However, it’s also helpful to estimate the required bandwidth per-user connection. You can try it here.
In the image below, you can check the bandwidth needed and the throughput required for the mainstream applications, such as messaging, e-mails, social media, video calls, VoIP calls, web browsing, file sharing, and video streaming.

Or if you want to go more specific, the FCC (Federal Communications Commission) provides a set of guidelines for Mbps needed based on digital activity.
Alternatively, you can measure the bandwidth requirements by usage. The chart below compares minimum download speed (Mbps) needs for light, moderate, and high household use with one, two, three, or four devices at a time (such as a laptop, tablet, or game console).

So, let’s keep the hotel’s example fully booked with a maximum capacity of 36 guests. Assuming each guest has 1.2 devices, you have around 43 devices, of which 35 are connected to the network simultaneously. All of them are browsing different applications.
If you are using our Access Point Selector tool, in a hotel with 35 concurrent users employing chatting/messenger services, e-mail, social media, web browsing, and video streaming, you will have, as a result, an estimated bandwidth per user of 3.33 Mbit/s. This means that the hotel would need at minimum: Location bandwidth – 117 Mbit/s.
3. Calculate network bandwidth requirements
As previously said, the measurement unit for bandwidth is bits per second (bps). But, modern networks have greater capacity. They are mostly measured in millions of bits per second (megabits per second, or Mbps) or billions of bits per second (gigabits per second, or Gbps).
Furthermore, bandwidth connections can be symmetrical when the data capacity is the same in uploading or downloading data, and asymmetrical when download and upload capacity are not the same. In asymmetrical connections, upload capacity is usually smaller than the download capacity.
In addition to testing, you have to calculate how much bandwidth is needed to run all your networks’ applications. To understand how much capacity you need, you must calculate the maximum number of users who might be using the network connection simultaneously and multiply that number times the bandwidth capacity required by each application.
To calculate the bandwidth need required you can use the following formula:
(Application Throughput) x (Number of concurrent Users) = Aggregate Application Throughput
Going back to the hotel example,
(3.33 Mbps) x 35 concurrent users = 117 Mbps
Note: the result you get here might exceed the bandwidth that the internet service providers offer.
When calculating your bandwidth needs, it’s a theoretical demand upper bound estimate that can help you to calculate the number of access points needed to support the bandwidth demands in a specific location.
If you want to calculate the number of access points needed in a deployment, check our latest article Network Capacity Planning – Wireless Capacity vs Coverage.
If you are deploying wireless networks, read also WiFi network design – What to take into consideration when designing WLANs, there are many factors to consider to plan out your network deployments thoroughly.
Would you like to stay up-to-date with the latest news and trends about the WiFi Industry and the Tanaza platform?
Subscribe to our monthly newsletter so you don’t miss a thing!

Related articles:
How network disaggregation allows you to reduce your CAPEX OPEX costs